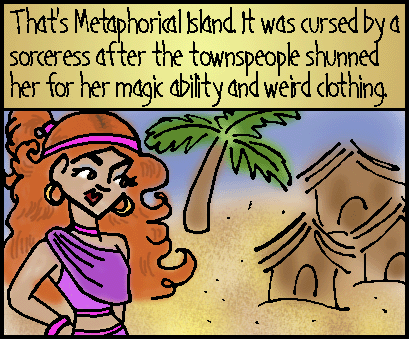
My comic takes a lot of time to work on. Because I like it to look fairly polished, the process that I use to put it together is fairly tedious. But at least it allows me to spend more time putting off my real work!
Click here to jump down to the visual progression.
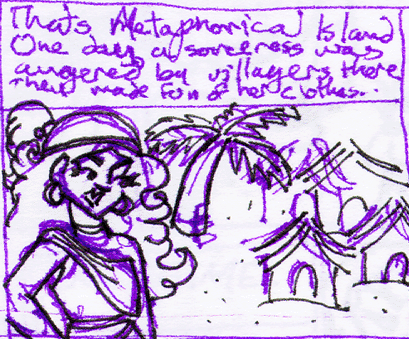
Step 1: Drawing/Scanning
I first draw the comic in my sketchbook. I first use a color pen to make
the drawings, boxes, and some rough accompanying text. I then outline the parts
of the drawing I'd like to keep in a black pen. I then scan the result at a
high resolution.
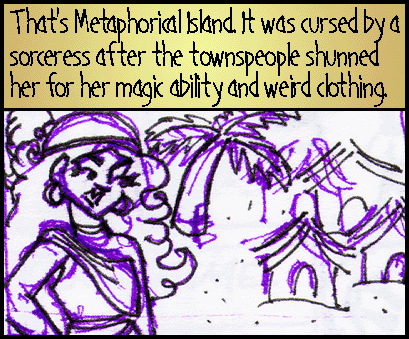
Step 2: Adding Borders and Text
This is pretty straightforward. I go into Photoshop and open up the image file.
I first add a layer in which I put the borders, making sure to keep the width
and distance uniform. I then add the text and speech bubbles in a separate layer
set.
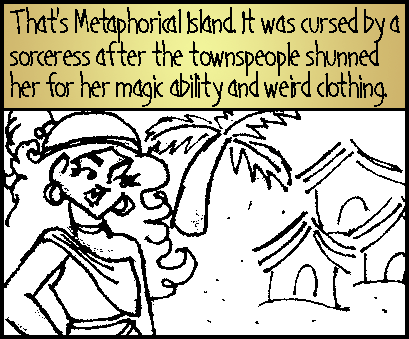
Step 3: Polishing the Drawing
This is the most time consuming step. I take the original drawing and increase
the contrast until the lines in the final drawing are 100% black. This allows
me to create a transparency in which everything else is rendered invisible.
Unfortunately, my drawing can never be perfectly crisp, so I have to edit it
pixel by pixel until I've gotten rid of all the irregularities. If there's a
part of the drawing that looks bad, I can also erase the original drawing and
redraw it on the computer. Finally, I often draw purely geometric things, such
as Dave's glasses, on the computer without dealing with them in my initial sketch.
When things might benefit from a 'rough' appearance, as in the case of sand
granules or wood, I tend to leave them as they are without editing.
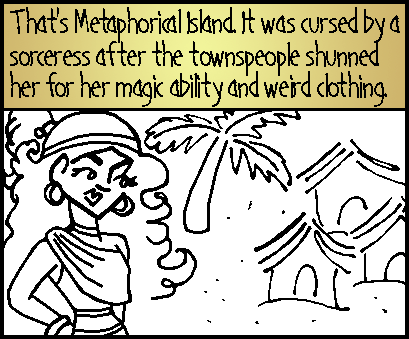
Step 4: Coloring in the Drawing
Once I am satisfied with the drawing, I make a layer between the drawing and
the white background for the color. Using primarily the airbrush tool, I color
in the characters and backgrounds. Depending on how complicated the desired
effects are, this can take a relatively short or long time.
Step 5: Shrinking the Drawing
It's a bit heartbreaking to do so much work on something that I'll eventually
shrink down, but this allows the drawing to look smoother and less pixelated.
It also allows me to make the picture more detailed. Once I finish this step,
it's finally time to celebrate!